

Welcome to Our Anniversary Sale!
Welcome to A Bar Above’s anniversary sale, celebrating 13 years of business! Shop all items at shop.abarabove.com– the more you shop, the more you save.
Welcome to Our Anniversary Sale!
Welcome to A Bar Above’s anniversary sale, celebrating 13 years of business! Shop all items at shop.abarabove.com– the more you shop, the more you save.

Pro Tips for Jigger Pouring
Master jigger pouring with simple techniques that improve speed, accuracy, consistency, and confidence behind the bar. Learn more at A Bar Above.

Simple Syrup Guide: How to Make, Store & Use It in Cocktails
Learn how to make simple syrup, including the ideal sugar-to-water ratio, storage tips, flavored variations, and how to use it in cocktails.

How to Use a Hawthorne Strainer: Tips and Techniques for Perfect Cocktails
Learn how to use a Hawthorne strainer like a pro, with simple tips for smoother pours, better filtration, and perfectly balanced cocktails.

Espresso Martini Recipe
Discover the perfect Espresso Martini recipe with fresh espresso, vodka, and coffee liqueur. Easy to make at home with A Bar Above!
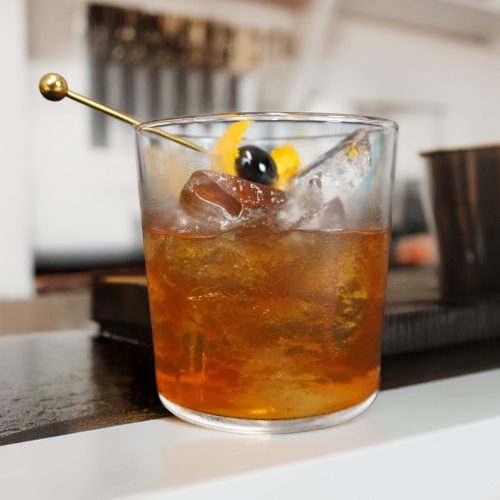
The Old Fashioned
Once known as “The Old Fashioned Whiskey Cocktail,” this is about as classic as a classic cocktail can get! Get the recipe featuring whiskey, simple syrup, & bitters.
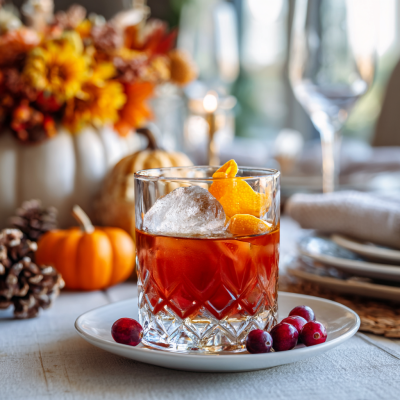
Thanksgiving Cocktail Recipe: The Bourbon Bog
The other day, I was chatting with a friend who mentioned that her dad’s go-to Thanksgiving cocktail is something called a Bourbon Bog. I had never heard of it—but with a name like that (and because I love bourbon), I had to check it out. After a little...

An Interview with Zane Harris from Riedel Glassware!
Join us as we chat with spirits specialist and bar designer Zane Harris about designing Riedel’s cocktail glassware and why the right glass makes every cocktail better.
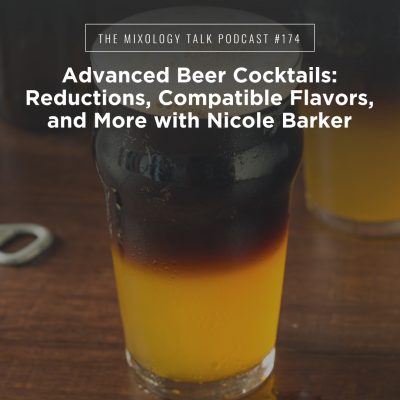
Advanced Beer Cocktails: Reductions, Compatible Flavors, and More with Nicole Barker
All about beer Cocktails: Want to work “beer” flavor into your cocktails? This podcast has some incredible ideas from the basic to the very advanced!
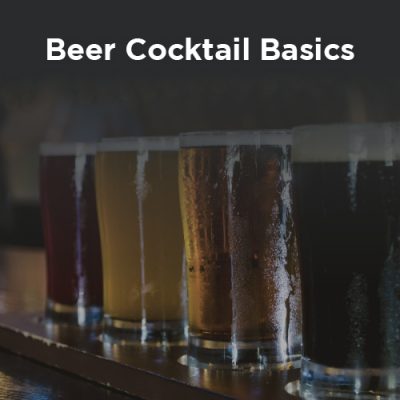
Beer Cocktail Basics with Chris Krause
We’re discussing all things beer cocktails fom how to get started if you want to offer beer cocktails on your drink menu to tips for elevating cocktail service.
COCKTAIL SKILLS

BAR INGREDIENTS
MIXOLOGY

Better Bartending

The Bar Career

Business of the Bar
